
Hey there, fellow DIY enthusiasts! I'm a supplier of hand tools, and today I'm stoked to share some tips on how to use a handsaw for curved cuts. Curved cuts can add a whole new level of creativity to your woodworking projects, whether you're making a custom piece of furniture, a decorative wall art, or just sprucing up some outdoor fixtures. So, let's dive right in!
Choosing the Right Handsaw
First things first, you gotta pick the right handsaw for the job. There are a few different types of handsaws that are great for curved cuts:
- Coping Saw: This is my go-to for intricate and tight curves. It has a thin blade that's stretched between a U-shaped frame. The blade is super flexible, allowing you to make sharp turns. It's perfect for cutting moldings and small pieces of wood.
- Jigsaw (if you prefer power-assisted but still relevant): While not a traditional handsaw, it's worth mentioning. It can also make curved cuts. It has a reciprocating blade that moves up and down rapidly. If you're dealing with thicker wood or need to make faster cuts, a jigsaw might be a good option. But for the sake of this blog, we'll focus on the classic handsaws.
- Bow Saw: This saw has a long, narrow blade stretched between two handles in a bow shape. It's great for larger curved cuts, like shaping the edges of a wooden sign or a garden bench.
Preparing Your Workspace
Before you start cutting, it's important to set up your workspace properly. Here's what you need to do:
- Secure Your Workpiece: You don't want your wood moving around while you're cutting. Use clamps to hold it firmly in place on a workbench or sawhorse. Make sure it's level and stable.
- Mark Your Cut: Use a pencil or a marking knife to draw the curve you want to cut on the wood. Be as precise as possible. You can use a template or a flexible curve ruler to help you draw the perfect shape.
- Wear Safety Gear: Always wear safety glasses to protect your eyes from flying wood chips. If you're working in a noisy environment, ear protection is also a good idea. And don't forget to wear gloves to keep your hands safe.
Making the Curved Cut
Now that you're all set up, it's time to start cutting. Here's a step-by-step guide:
- Start the Cut: Position the saw blade at the edge of the wood, right on the line you marked. Hold the saw firmly with both hands, keeping your fingers away from the blade. Apply gentle pressure and start sawing slowly. Make sure the blade is cutting in the right direction.
- Follow the Curve: As you cut, follow the curve you marked on the wood. Keep the saw blade perpendicular to the surface of the wood. If you need to make a sharp turn, slow down and use small, controlled strokes. You can also tilt the saw slightly to help you make the turn.
- Use the Right Technique: There are two main techniques for cutting curves with a handsaw: the push stroke and the pull stroke. The push stroke is when you push the saw forward to cut the wood. The pull stroke is when you pull the saw backward. For most curved cuts, the pull stroke is more effective because it gives you more control and precision.
- Take Breaks: Cutting curves can be tiring, especially if you're working on a large project. Take breaks every now and then to rest your hands and arms. This will help you stay focused and avoid making mistakes.
Tips and Tricks
Here are some additional tips and tricks to help you make better curved cuts:
- Use a Fine-Toothed Blade: A fine-toothed blade will give you a smoother cut and less splintering. Look for a blade with at least 10 teeth per inch.
- Lubricate the Blade: Applying a little bit of wax or oil to the blade will help it glide through the wood more easily. This will reduce friction and make your cuts smoother.
- Sand the Edges: After you've made your cut, use sandpaper to smooth the edges of the wood. This will give your project a professional finish.
- Practice Makes Perfect: Don't be afraid to practice on some scrap wood before you start working on your actual project. This will help you get the hang of using the saw and improve your technique.
Related Hand Tools
While you're working on your curved cuts, you might also find these hand tools useful:
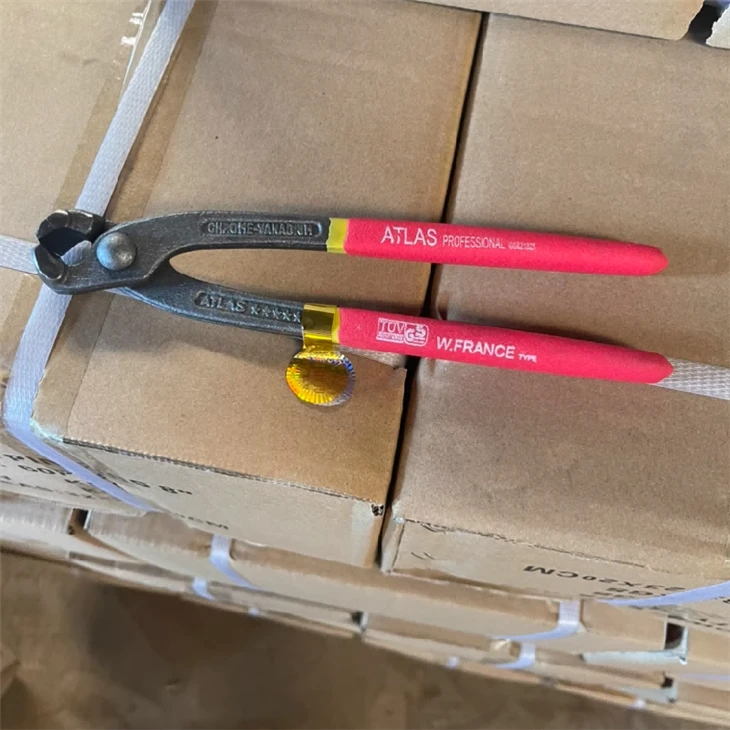
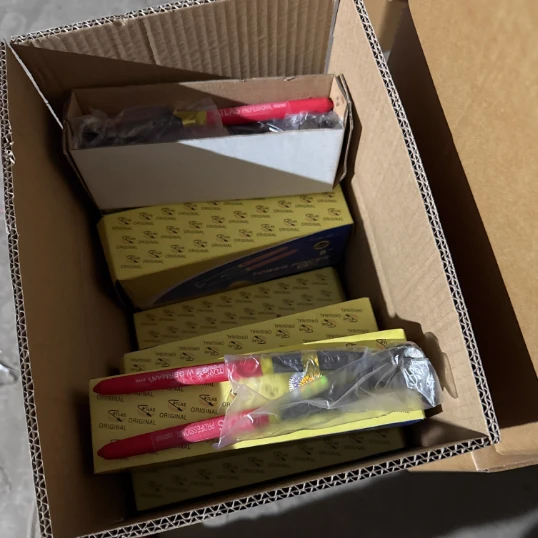
- 8 ”Rabbet pliers: These pliers are great for holding small pieces of wood in place while you're cutting. They have a narrow jaw that can grip tightly, making it easier to work with delicate pieces.
- 8inch Rabbet Pliers: Similar to the 8 ”Rabbet pliers, but with a longer jaw. They're perfect for holding larger pieces of wood or for reaching into tight spaces.
Conclusion
Using a handsaw for curved cuts might seem challenging at first, but with the right tools, technique, and a little practice, you'll be able to create beautiful, curved pieces in no time. Remember to choose the right saw for the job, prepare your workspace properly, and follow the curve carefully. And don't forget to use these related hand tools to make your work even easier.
If you're interested in purchasing high-quality hand tools for your woodworking projects, I'd love to have a chat with you. Whether you're a professional woodworker or just starting out, I've got a wide range of tools to meet your needs. Reach out to me, and let's start a conversation about how I can help you take your woodworking to the next level.
References
- Woodworking Magazine
- DIY Woodworking Books