


Tile installation is a meticulous process that demands precision, skill, and the right set of hand tools. As a seasoned hand tool supplier, I've witnessed firsthand the transformative power of quality tools in the hands of skilled tile installers. In this blog post, I'll delve into the essential hand tools used for tile installation, exploring their functions, features, and why they're indispensable for a successful tiling project.
Tile Cutter
A tile cutter is perhaps the most fundamental tool in a tile installer's arsenal. It's designed to score and snap ceramic, porcelain, and glass tiles with precision and ease. There are two main types of tile cutters: manual and electric.
Manual tile cutters are ideal for small to medium-sized projects and are relatively inexpensive. They consist of a scoring wheel and a breaking mechanism. To use a manual tile cutter, you simply place the tile on the cutter's base, align the scoring wheel with the desired cut line, and apply pressure to score the tile's surface. Then, using the breaking mechanism, you snap the tile along the scored line.
Electric tile cutters, on the other hand, are more powerful and efficient, making them suitable for larger projects and thicker tiles. They use a diamond blade to cut through the tile, providing a clean and precise cut. Electric tile cutters are available in various sizes and configurations, including wet saws and dry saws. Wet saws are designed to cool the diamond blade with water, reducing dust and preventing the blade from overheating. Dry saws, on the other hand, are used for cutting tiles in dry conditions and are typically more portable.
Tile Spacers
Tile spacers are small plastic or rubber pieces that are used to create even gaps between tiles during installation. They ensure that the tiles are evenly spaced and aligned, resulting in a professional-looking finish. Tile spacers come in various sizes and shapes, including cross-shaped, T-shaped, and L-shaped.
To use tile spacers, simply place them between the tiles as you lay them down. The size of the spacer you choose will depend on the size of the tiles and the desired grout joint width. For example, if you're using large-format tiles, you may want to use larger spacers to create wider grout joints. Conversely, if you're using small tiles, you may want to use smaller spacers to create narrower grout joints.
Tile Trowel
A tile trowel is used to apply mortar or adhesive to the surface where the tiles will be installed. It's available in various sizes and shapes, including square-notch, U-notch, and V-notch trowels. The type of trowel you choose will depend on the size and type of tiles you're using, as well as the type of mortar or adhesive you're applying.
Square-notch trowels are the most commonly used type of tile trowel. They have square-shaped notches on the blade, which create ridges in the mortar or adhesive. These ridges help to hold the tiles in place and ensure proper adhesion. U-notch and V-notch trowels are similar to square-notch trowels, but they have U-shaped or V-shaped notches on the blade, respectively. These trowels are typically used for larger tiles or for applying mortar or adhesive to uneven surfaces.
Grout Float
A grout float is used to apply grout to the joints between the tiles. It's a flat, rectangular tool with a rubber or foam blade. To use a grout float, you simply scoop up some grout with the float and spread it over the joints between the tiles at a 45-degree angle. Then, using the edge of the float, you smooth out the grout and remove any excess.
Grout floats come in various sizes and shapes, including square, rectangular, and triangular. The size of the float you choose will depend on the size of the tiles and the width of the grout joints. For example, if you're using large-format tiles, you may want to use a larger float to cover more area. Conversely, if you're using small tiles, you may want to use a smaller float to reach into the narrow grout joints.
Grout Sponge
A grout sponge is used to clean the excess grout from the surface of the tiles after it has been applied. It's a soft, absorbent sponge that is typically made of cellulose or foam. To use a grout sponge, you simply wet it with water and wring it out until it's damp. Then, you gently wipe the surface of the tiles with the sponge, removing any excess grout.
It's important to clean the grout sponge frequently during the cleaning process to prevent the grout from drying on the sponge and scratching the surface of the tiles. You can clean the grout sponge by rinsing it in clean water and wringing it out until it's clean.
Tile Nippers
Tile nippers are used to cut small pieces of tile, such as those needed to fit around corners or edges. They're similar to pliers, but they have a sharp, pointed blade that is used to cut through the tile. Tile nippers are available in various sizes and shapes, including straight and curved nippers.
To use tile nippers, you simply place the tile on a flat surface and position the nippers over the area you want to cut. Then, you squeeze the handles of the nippers together to cut through the tile. It's important to use tile nippers carefully to avoid cracking or chipping the tile.
8inch Rabbet Pliers
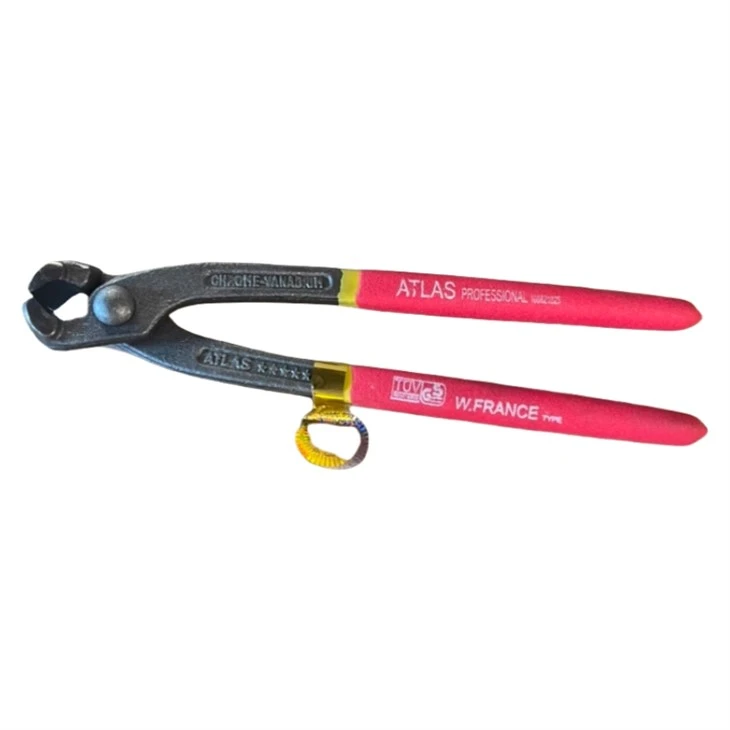
8inch Rabbet Pliers are a versatile tool that can be used for a variety of tasks in tile installation. They're designed to grip and hold tiles securely, making them ideal for cutting, shaping, and fitting tiles. The pliers have a long, narrow jaw that is perfect for reaching into tight spaces and gripping small pieces of tile.
In addition to their gripping capabilities, 8inch Rabbet Pliers also have a cutting edge that can be used to trim the edges of tiles. This makes them a valuable tool for creating precise cuts and fitting tiles around corners and edges.
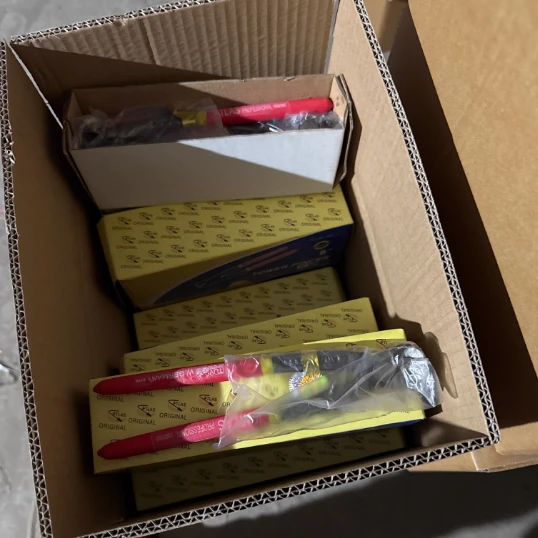
8 ”Rabbet pliers
8 ”Rabbet pliers are another essential tool for tile installation. They're similar to 8inch Rabbet Pliers, but they have a shorter jaw and a wider cutting edge. This makes them ideal for cutting and shaping larger pieces of tile.
The pliers have a comfortable grip that allows for easy handling and precise control. They're also made of high-quality materials, ensuring durability and long-lasting performance.
Conclusion
Tile installation is a challenging but rewarding process that requires the right set of hand tools. By investing in high-quality tools and using them correctly, you can ensure a professional-looking finish and a long-lasting tile installation. As a hand tool supplier, I'm committed to providing my customers with the best tools and equipment for their tile installation projects. If you're in the market for hand tools for tile installation, I encourage you to contact me to discuss your needs and explore our wide range of products. I look forward to working with you to achieve your tiling goals.
References
- "Tile Installation Tools and Equipment." The Spruce, https://www.thespruce.com/tile-installation-tools-and-equipment-1822270.
- "Essential Tools for Tile Installation." This Old House, https://www.thisoldhouse.com/ideas/essential-tools-tile-installation.
- "Tile Installation Guide." Home Depot, https://www.homedepot.com/c/ah/tile-installation-guide/9ba683603be9fa5395fab90199d4c0d.


